Quick Start: First Open edX Pull Request
Contents
Quick Start: First Open edX Pull Request#
Steps to Making your First Pull Request
Welcome to the Quickstart guide for new Open edX contributors. By the end of this tutorial, you will have completed all the steps necessary to begin contributing to the Open edX project.
These include:
Setting up your development environment;
Making your first commit;
Submitting your first pull request (PR);
We assume you are comfortable with the command line, and understand the basics of using Git, GitHub, and python basics.
Before you start#
System Requirements
For the smoothest experience, we recommend that your computer has at least 16 GB of RAM, 2 CPUs, and at least 50 GB of Free disk space.
This tutorial is written for users of macOS or Linux. It has been tested with both common 64-bit processor families: x86-64 (a.k.a. Intel-64) and ARM-64 (used in newer Apple laptops, including M1, M2, etc.). Additionally, you will need to have the following installed or configured, and know at least the basics of using them, before proceeding:
Git (see GitHub’s set up Git guide)
-
Additionally, we strongly recommend setting up 2-factor authentication.
Your favorite code editor (our team uses VSCode, Emacs for Mac OS X, NeoVim, MacVim, and others)
Install Docker#
Install Docker Desktop and launch it. You can check that it is running correctly with:
docker run --rm hello-world
You should see a message that starts with the following:
Hello from Docker!
This message shows that your installation appears to be working correctly.
On macOS, by default, Docker allocates at most 2 GB of RAM to containers; the Open edX software requires at least 8 GB. macOS users should follow these instructions from the official Docker documentation to allocate at least 8 GB to the Docker daemon.
Installing Tutor Nightly#
Navigate into a folder to hold your Open edX repositories.
We will assume you’re using ~/openedx, but you can choose any folder.
mkdir -p ~/openedx
cd ~/openedx
Create a Python 3.8 virtual environment (we’ll call it tutor-venv) and activate it:
python3.8 -m venv tutor-venv
. tutor-venv/bin/activate
Install Tutor. This is a tool that helps you run the Open edX project. We will install the “Nightly” version of Tutor, which means it will run the latest version of the code (as opposed to the most recent named release):
git clone --branch=nightly https://github.com/overhangio/tutor.git
pip install -e "./tutor[full]"
If you are using ARM-64 (such as a MacBook M1 or M2), then install this extra plugin and enable it (if you’re not, then skip this step):
pip install git+https://github.com/open-craft/tutor-contrib-arm64
tutor plugins enable arm64
tutor config save
Finally, let’s configure and provision your Open edX instance! You will be asked a couple questions. Answer them however you like, although the default answers will work fine.
tutor dev quickstart
Depending on your system and your Internet connection speed, this could take anywhere from five minutes to over an hour, so go get a coffee and come back for the next part.
Working with a fork#
At this point you should have a Tutor installation that is suitable for development, but you’re still missing a practical way to edit the code, test it locally, and then contribute it back.
For the purposes of this tutorial, you’ll be modifying code in the
edx-platform repository, where the Open edX backend code lives. Let’s
start by creating your own personal “fork” of it. A “fork” is essentially your
own copy of the repository. See here to learn more about forks.
Forking edx-platform#
Assuming you’re logged in to GitHub, forking a repository is easy. Visit the
edx-platform repository at this URL:
https://github.com/openedx/edx-platform
Now, click the Fork button on the top right, and in the next
screen, select your personal account as the owner. After you click the
Create fork button, you’ll be taken to your own version of the
edx-platform repository.
Cloning your fork#
Your edx-platform currently only exists on the GitHub servers. You’ll now
create a local copy of it (a “clone”).
First, fetch the git URL of your fork. Navigate to its web page (to which you were taken after creation), click on the Code button, select the HTTPS tab, and copy the URL given. It should look like this:
https://github.com:<your_github_username>/edx-platform.git
Now, from the same top level directory you created above, clone the repository as follows:
cd ~/openedx
git clone  https://github.com:<your_github_username>/edx-platform.git
You’ll now have an edx-platform directory containing a local clone of your
fork. It is not yet wired into your Tutor development environment, though.
This is what you’ll do next.
Mounting edx-platform#
To have Tutor run your local fork of edx-platform, you have to tell it to do so on start up. It is a simple CLI parameter that points Tutor to the directory where the code lives.
As a first step, fire up a one-off LMS container while mounting your local checkout:
tutor dev run --mount=./edx-platform lms bash
Now within the container, install python requirements and rebuild static assets for your local checkout:
pip install -e .
npm install
openedx-assets build --env=dev
exit
After exiting the one-off container, restart the LMS with the local checkout mounted:
tutor dev start --mount=./edx-platform lms
From this point on, whatever changes you make to the code in your clone should be visible in your local LMS instance immediately.
Exercise: Update the Learner Dashboard#
The Learner Dashboard is the first page that students will see when they log
into Open edX. On our Tutor dev environment, it is located at
http://local.overhang.io:8000/dashboard
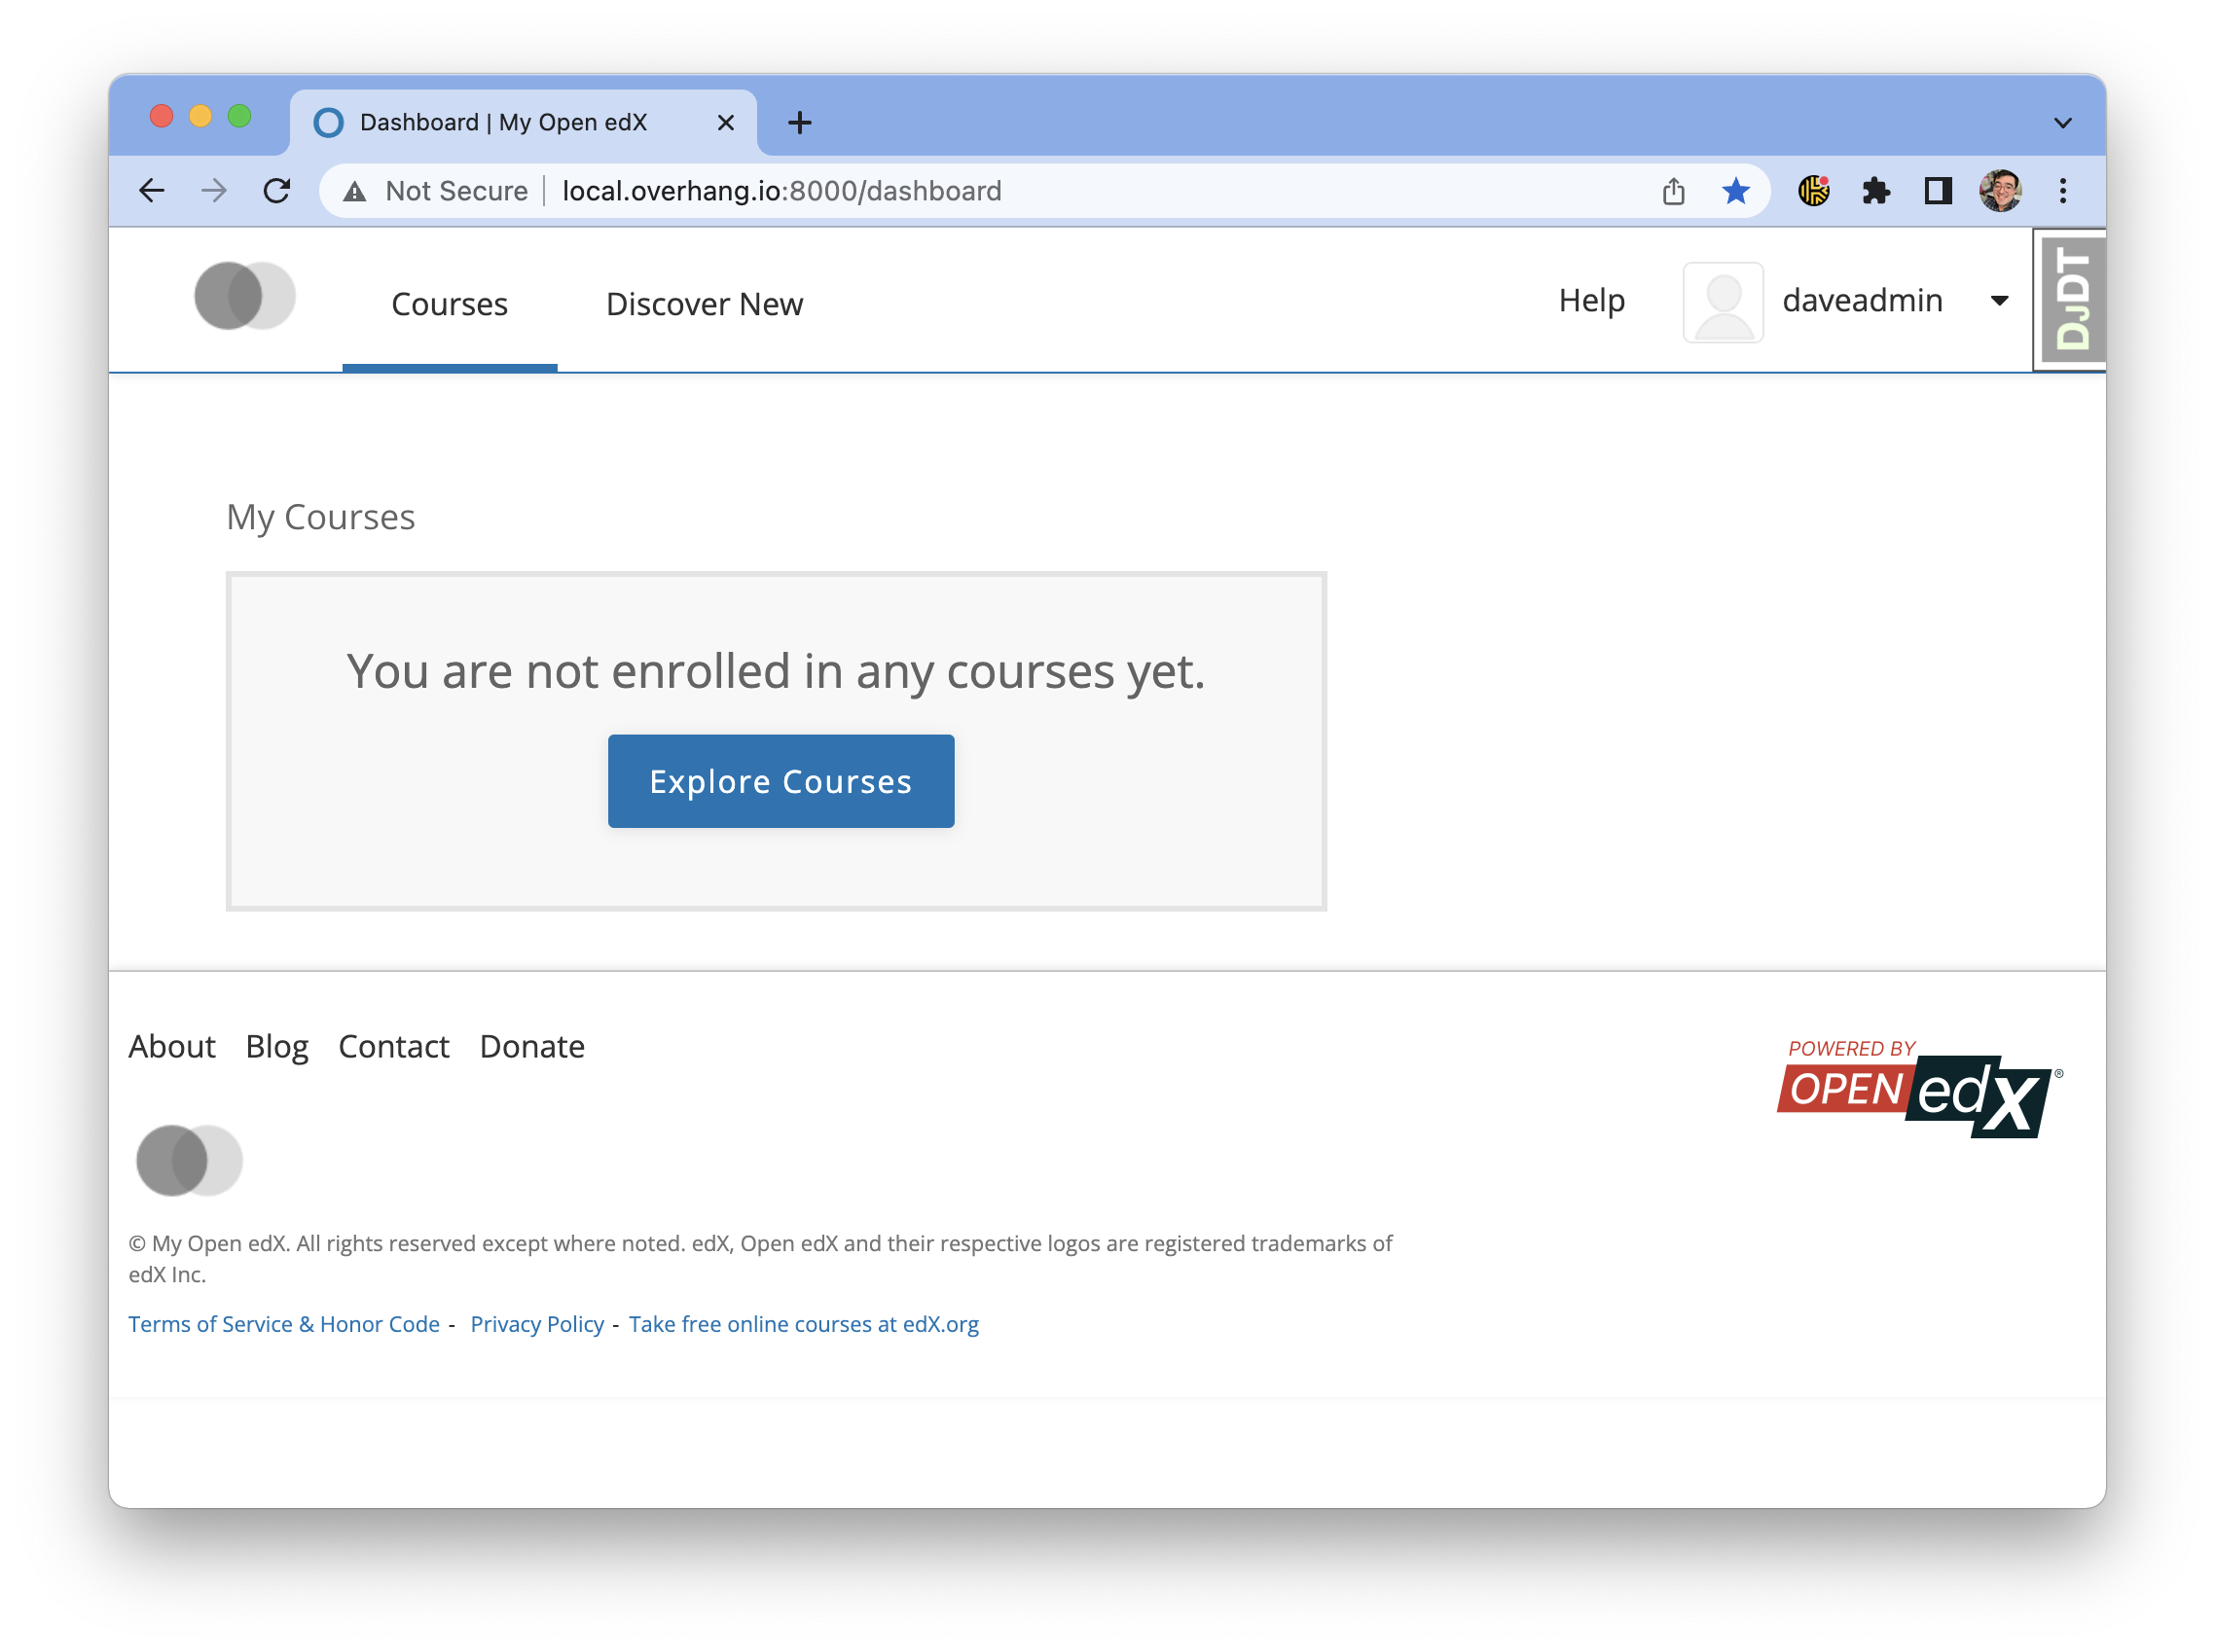
As an exercise, you’re going to make a small edit to the top of this page. This is not a change that will be merged upstream, but it will demonstrate the steps you will have to go through to make a real change.
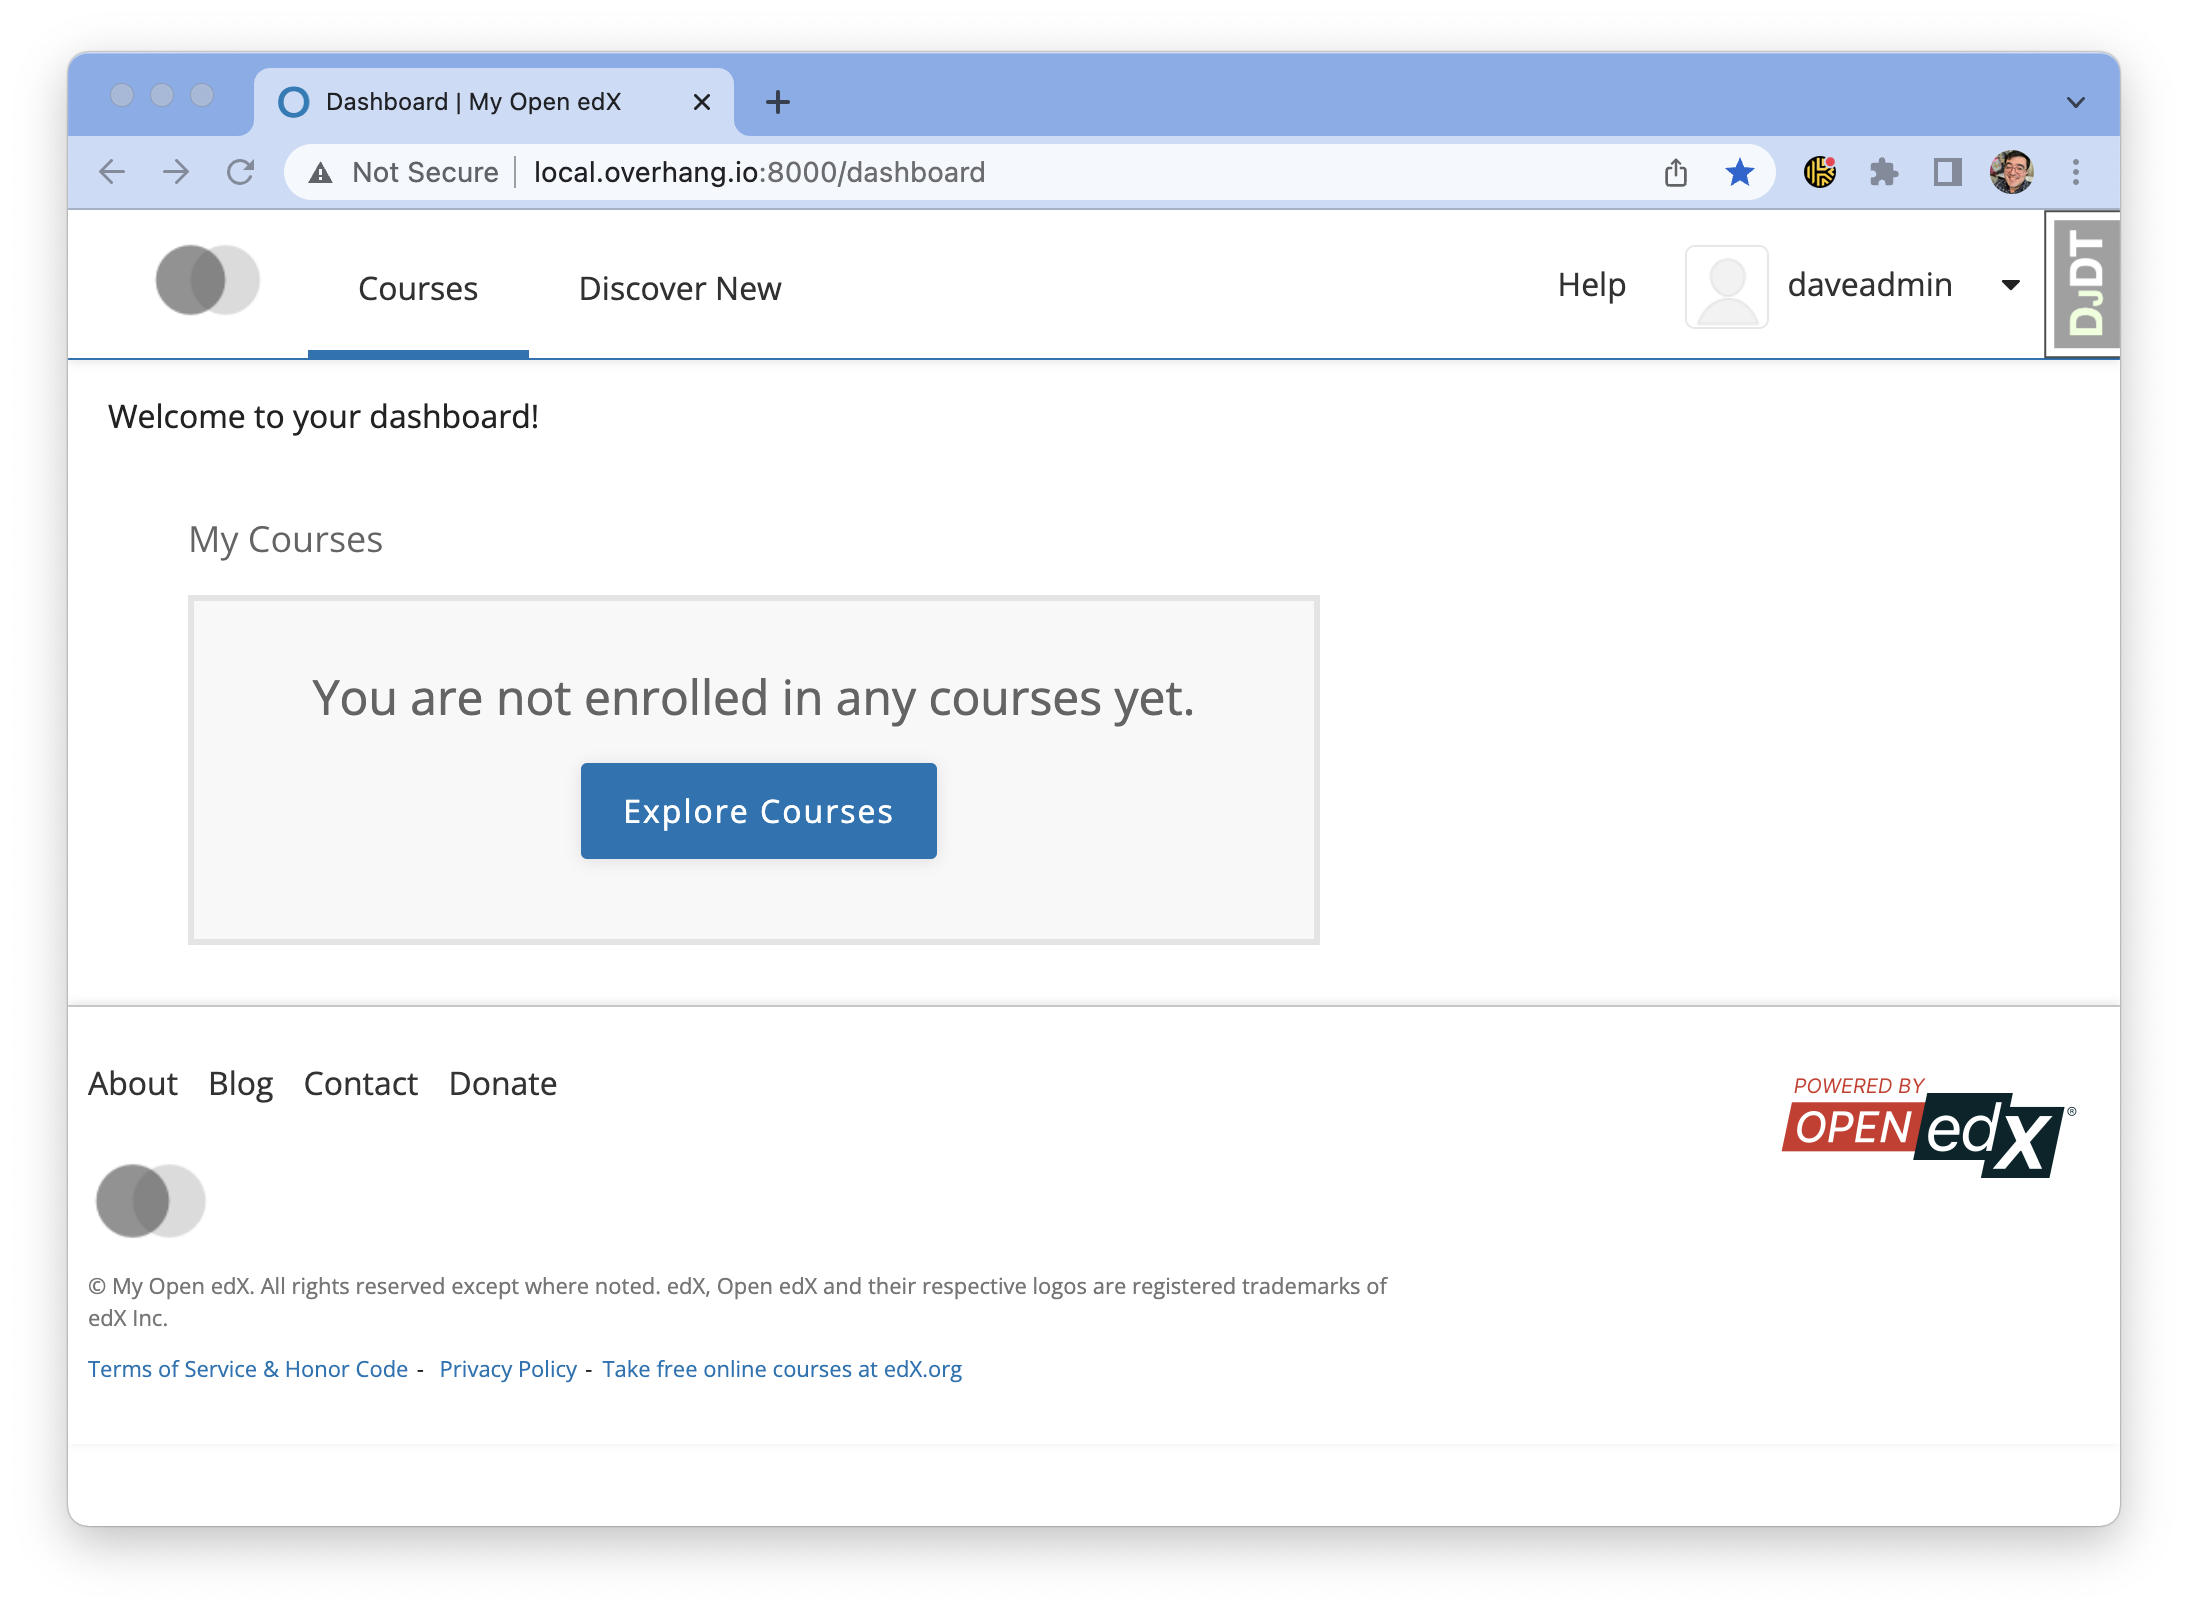
Edit the Template#
The template file for this page is at lms/templates/dashboard.html. We’re
going to add a simple welcome message to the dashboard-notifications div:
<div class="dashboard-notifications" tabindex="-1">
    <!-- start new content -->

    Welcome to your dashboard!

    <!-- end new content -->
Feel free to replace the welcome text with any message you’d like and save the file. When you reload it in your browser, you should see something like this:
Make a Commit#
Now that you’ve saved your changes, you can make a commit. First make a new
branch with the name developer_quickstart:
git checkout -b developer_quickstart
Then we can create the actual commit. Note that Open edX commit messages should follow our conventional commit practices. In our case, we’re making a new feature, so our commit message must be prefixed with “feat:” like so:
commit -a -m "feat: add welcome message to learner dashboard"
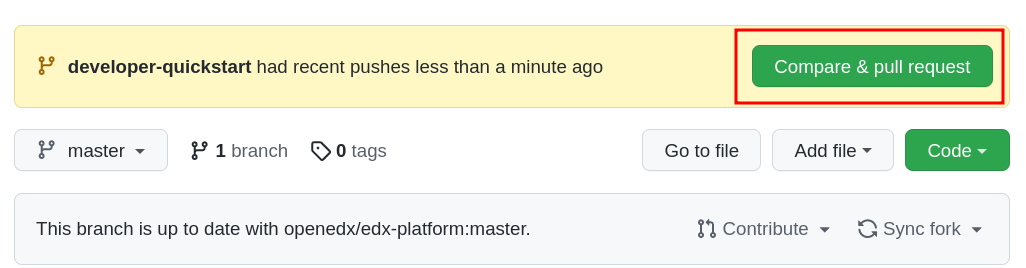
Push the Commit to Your Fork#
Now push your changes to a new branch in your fork:
git push --set-upstream origin developer_quickstart
Create A Pull Request#
Go to your fork.
https://github.com/<your_github_username>/edx-platform
At the top of the page you’ll see a section that will suggest that you make a new pull request. Go ahead and click the big green button.
This will bring up a form which you don’t need to make any changes in for now. Go ahead hit “Create Pull Request” again.
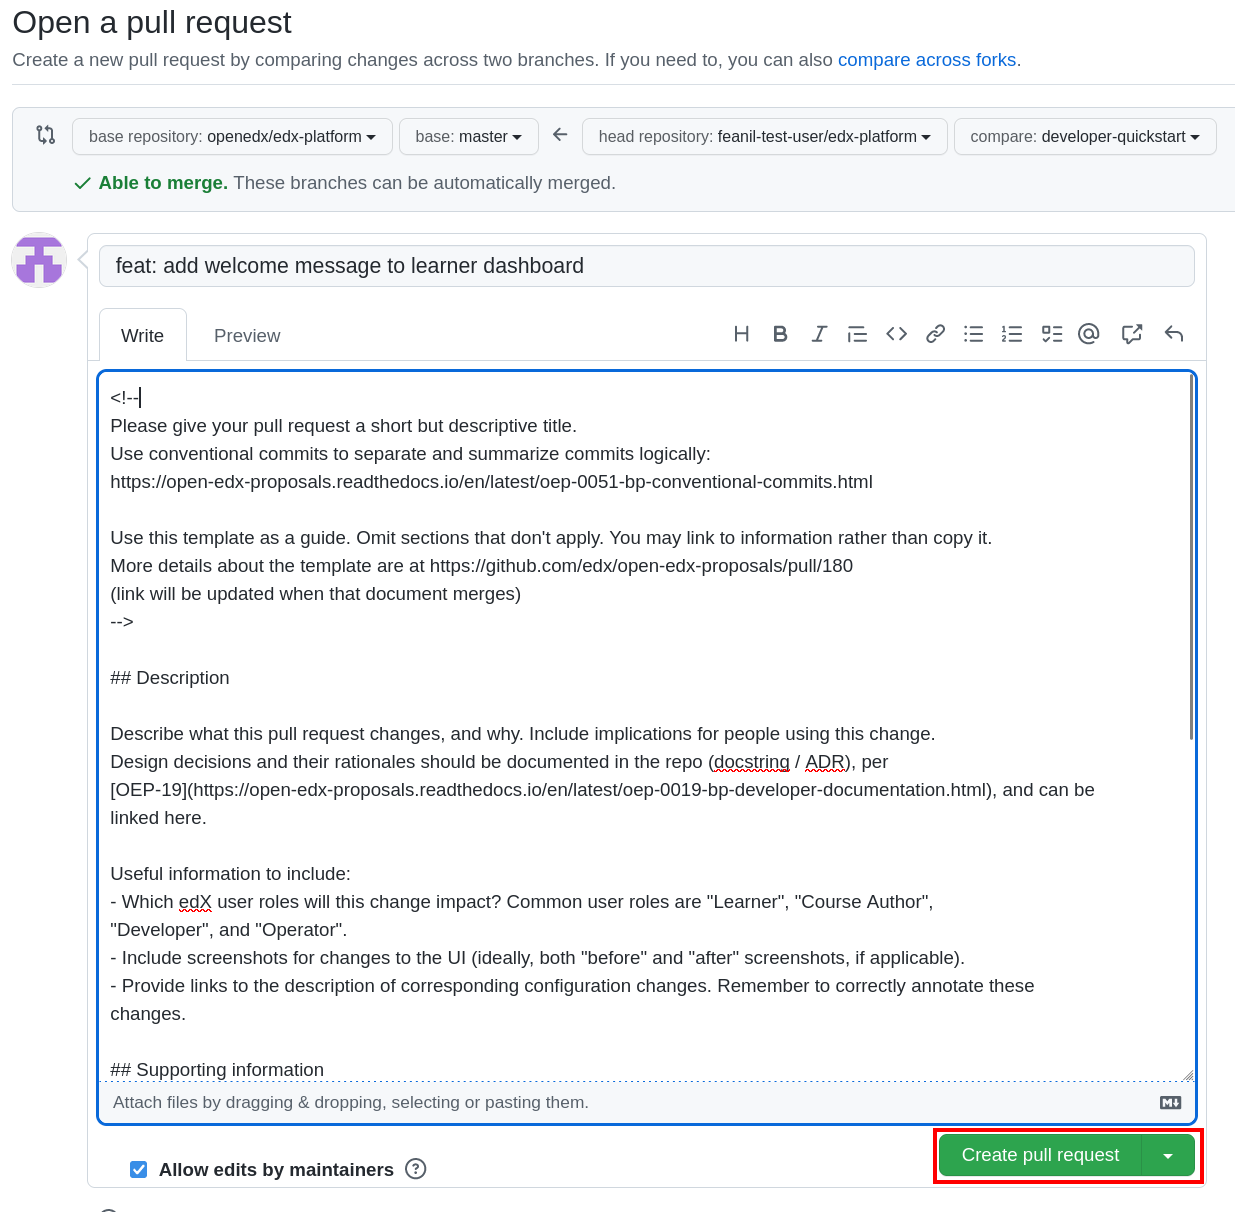
Congratulations, you have made a new pull request for a change against the Open edX project!

Because this was a practice PR, it will be closed without the changes being accepted. This is so others can continue to go through the same quickstart.
However for any real changes you make in the future, you can expect that the reviewers will review your changes and may ask for changes or accept your changes as is and merge them.
Note
To contribute to Open edX documentation, you must have a signed conbtributor agreement. For more information, see How to start contributing to the Open edX code base.
If you need more help or run into issues, check out the Getting Help section of the documentation for links to some places where you could get help.