Customizing Prompts#
You can customize the AI’s instructions and behavior by modifying prompts at the profile level.
Note
This guide assumes the reader has access to the Django Admin interface for their Open edX site.
Method 1: Inline Prompt in Profile Patch#
Use the Content patch field to override the prompt:
Single Line Prompt#
{
  "processor_config": {
    "LLMProcessor": {
      "prompt": "Your custom prompt here"
    }
  }
}
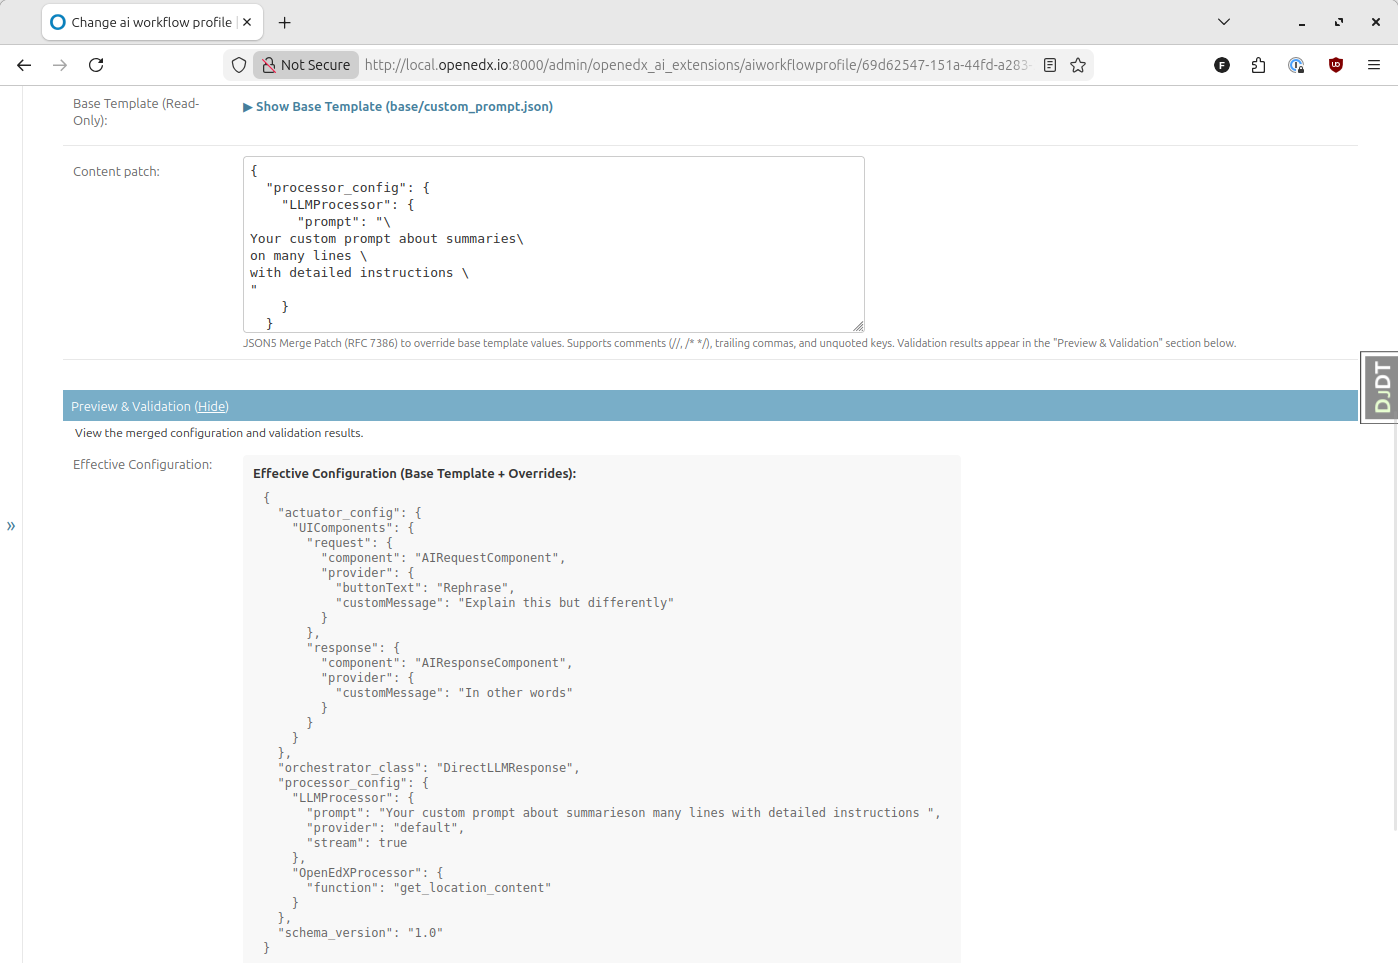
Multi-line Prompt#
For longer prompts, use the backslash line continuation syntax:
{
  "processor_config": {
    "LLMProcessor": {
      "prompt": "\
Your custom prompt \
on many lines \
with detailed instructions \
"
    }
  }
}
Example Profile#
The plugin includes an example at base.custom_prompt demonstrating this approach.
Method 2: Prompt Templates (Recommended)#
For reusable prompts, create a prompt template that can be referenced by multiple profiles.
Tip
Using prompt templates makes it easier to:
Reuse prompts across multiple profiles
Update prompts without modifying profile configurations
Maintain a library of tested, effective prompts
Creating a Prompt Template#
Navigate to the prompt template creation page:
/admin/openedx_ai_extensions/prompttemplate/add/
Configure the template:
Slug: Enter a descriptive identifier (e.g.,
tutor-assistant-prompt)Prompt body: Enter your prompt text
Click Save
Note the identifiers shown after saving:
"prompt_template": "769965eb-c242-4512-8d27-4f4feb800fe2"
"prompt_template": "your-prompt-slug"
You can use either the UUID or the slug to reference this template.
Using a Prompt Template in a Profile#
In your profile’s Content patch field:
{
  "processor_config": {
    "LLMProcessor": {
      "prompt_template": "769965eb-c242-4512-8d27-4f4feb800fe2"
    }
  }
}
Or using the slug:
{
  "processor_config": {
    "LLMProcessor": {
      "prompt_template": "tutor-assistant-prompt"
    }
  }
}