Usage Guide#
This guide walks you through creating your first AI workflows and configuring them for different contexts in your Open edX installation.
Note
This guide assumes the reader has access to the Django Admin interface for their Open edX site.
Prerequisites#
Before following this guide, ensure you have:
Completed the plugin installation
Configured at least one AI provider (see Configuration Guide)
Django admin access to your Open edX instance
Overview#
To make an AI workflow available to users, you need to create two components:
Profile: Defines what the AI will do (the behavior and instructions)
Scope: Defines where the AI workflow will appear (LMS/Studio, courses, specific locations)
LMS Example: Content Summary#
This example creates a content summarization feature available to learners in the LMS.
Creating the Profile#
Navigate to the profile creation page:
/admin/openedx_ai_extensions/aiworkflowprofile/add/
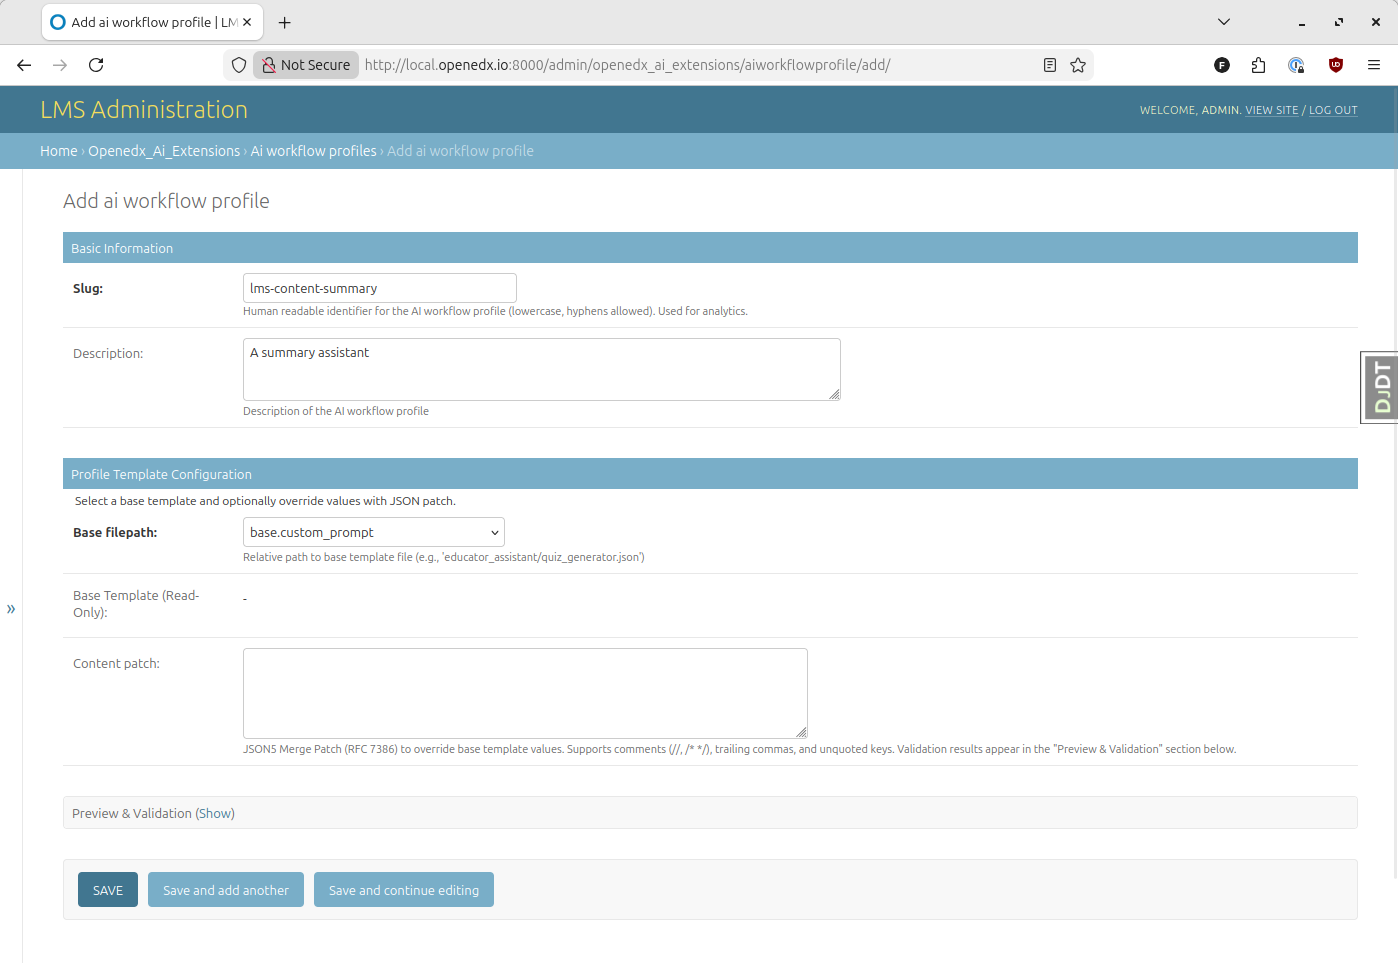
Configure the profile:
Slug: Enter a descriptive identifier (e.g.,
lms-content-summary)Base filepath: Select
base.summaryfrom the dropdown
Click Save and continue editing
Review the configuration:
You can now see two sections:
Base template: The default configuration from the selected filepath
Effective configuration: The final configuration after applying any patches

Creating the Scope#
Navigate to the scope creation page:
/admin/openedx_ai_extensions/aiworkflowscope/add/
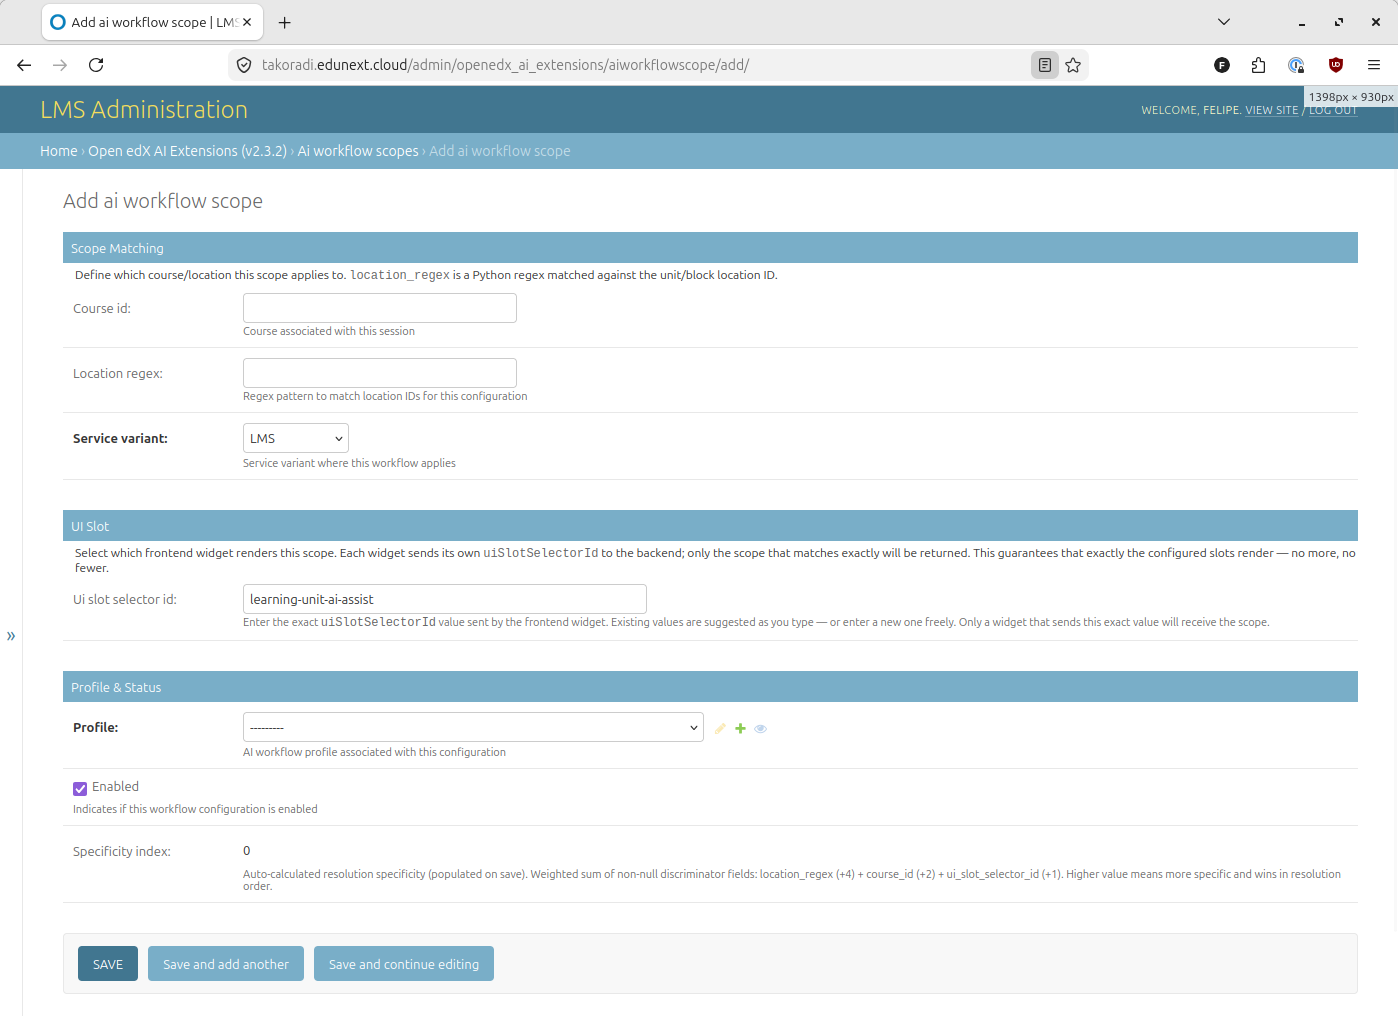
Configure the scope:
Service variant: Select
LMSCourse ID: Leave empty (applies to all courses), or target specific courses
Location regex: Leave empty (applies to all units), or target specific units
Profile: Select the profile you just created using the name you chose in the Slug field
UI slot selector ID: Enter the
idof the frontend widget that should render this workflow. See Using the UI Slot Selector ID for details.Enabled: Leave checked to activate the scope immediately
Click Save
Testing the Workflow#
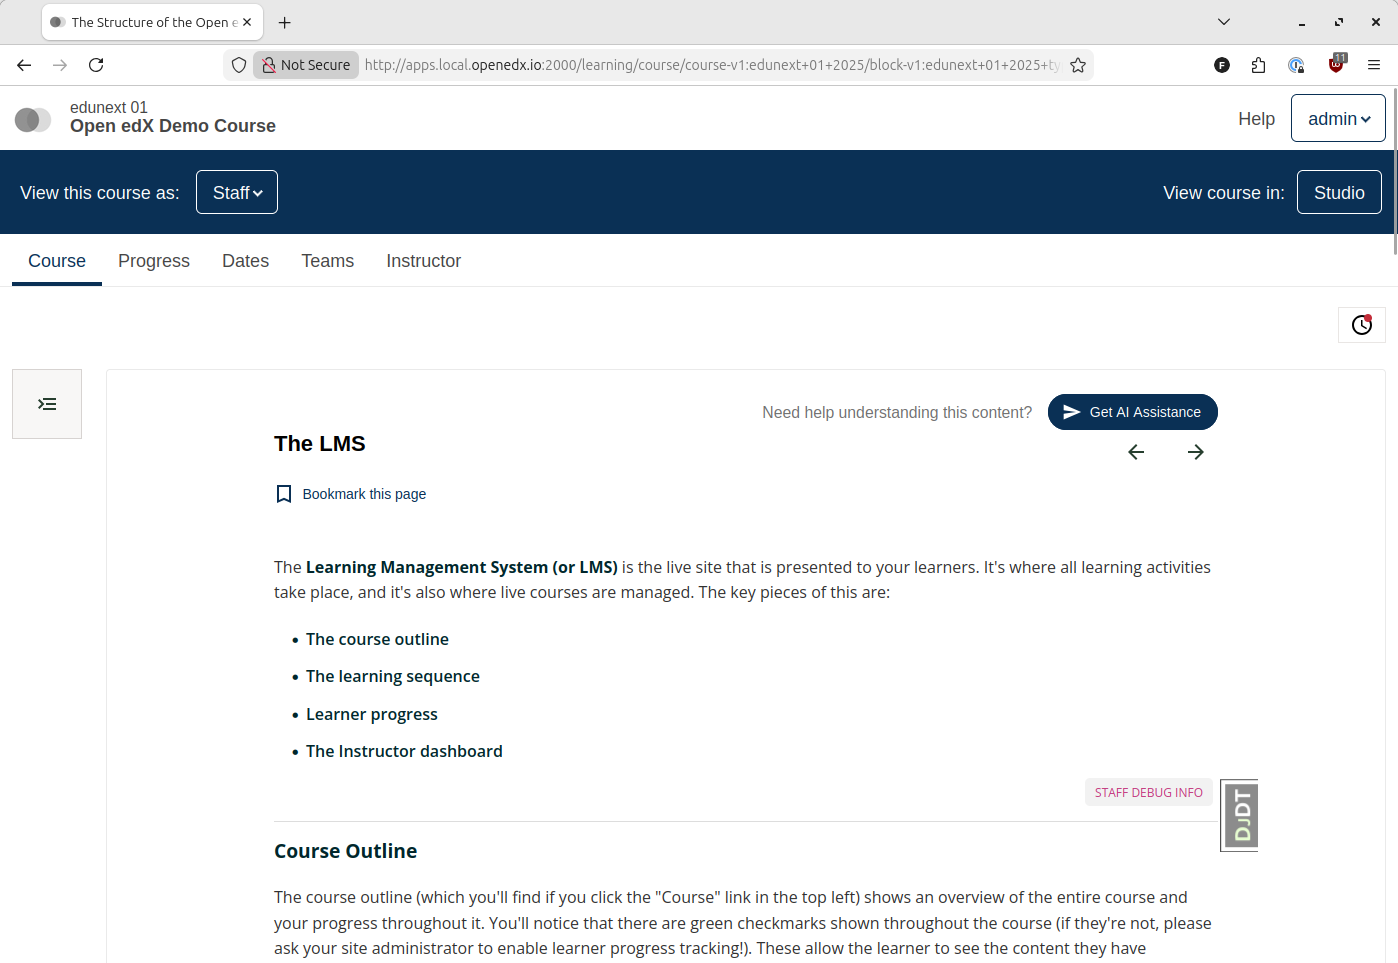
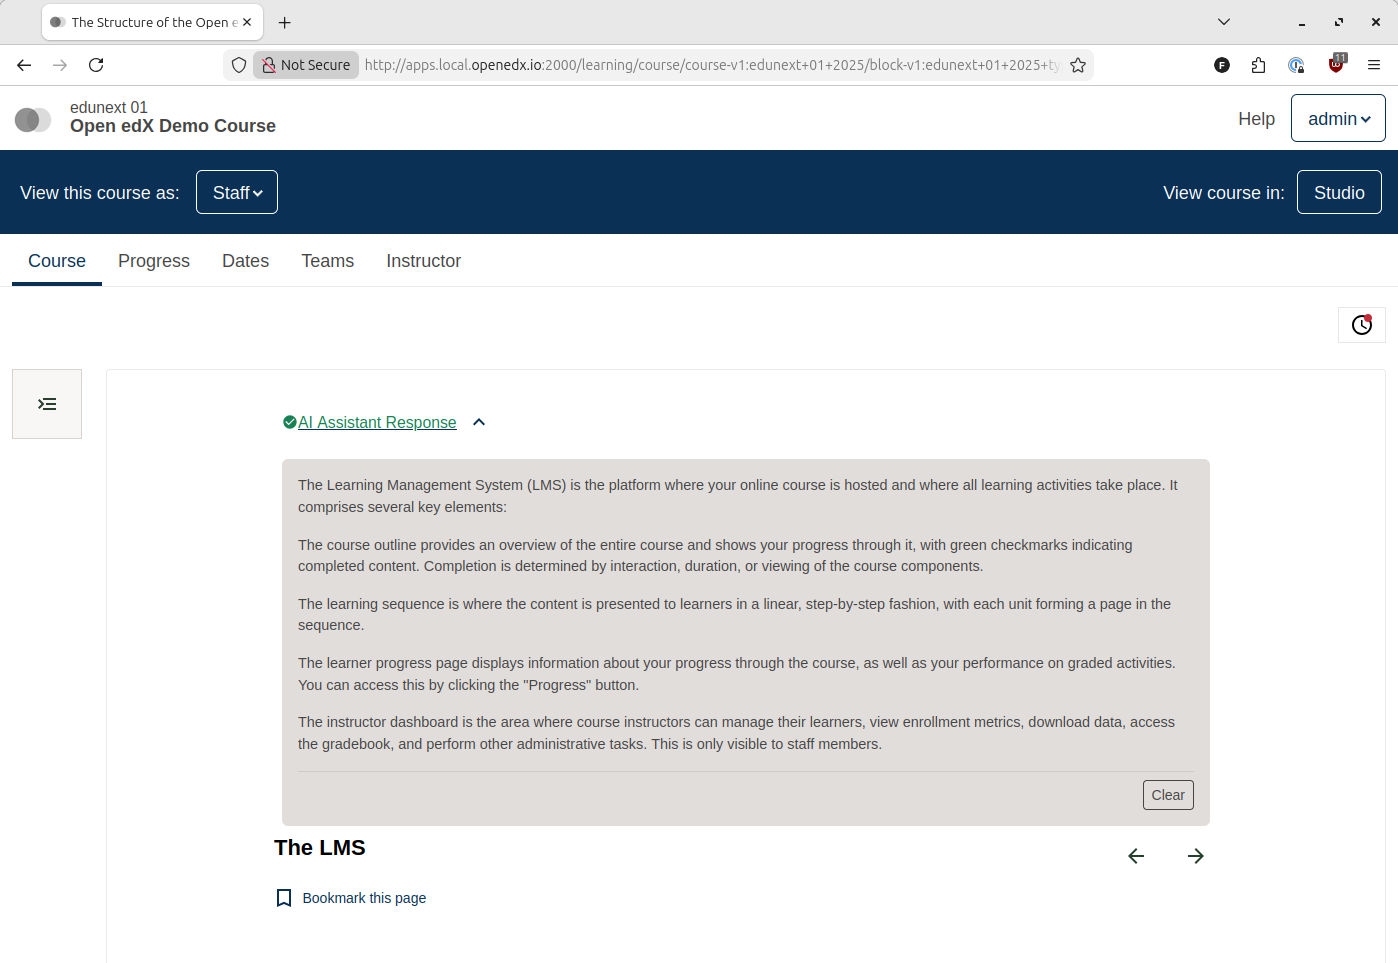
Navigate to any course unit in the LMS. You should see the AI workflow interface available to learners.
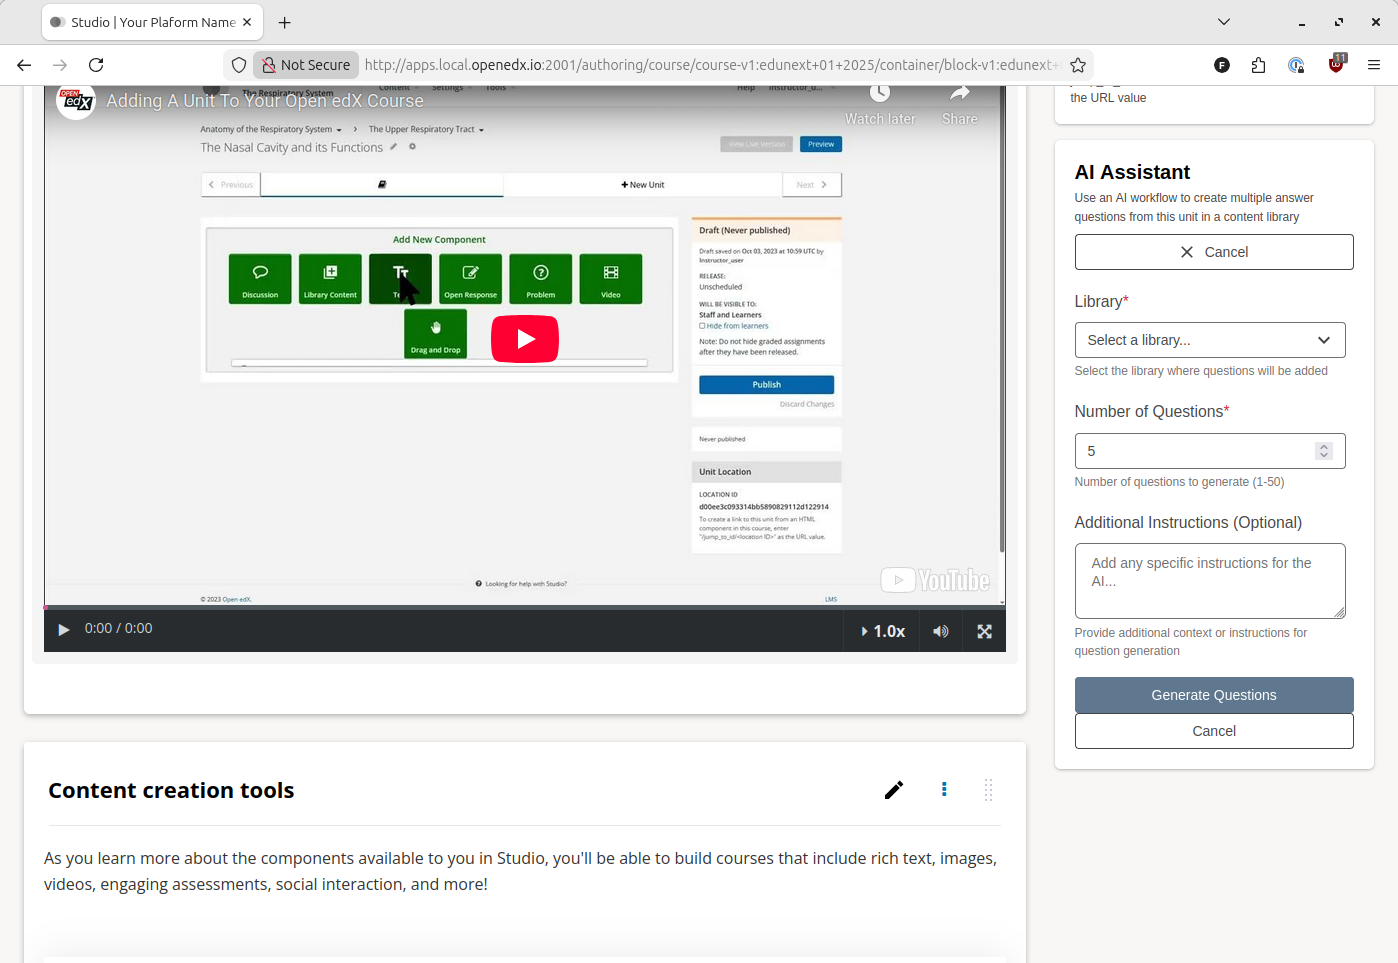
Studio Example: Library Question Assistant#
This example creates an AI assistant for content authors working with courses in Studio.
When viewed from a specific unit in a course, this assistant allows content authors to use an AI workflow to create multiple answer questions from the context of the viewed unit. Created problems are stored in a content library.
Creating the Profile#
Navigate to the profile creation page:
/admin/openedx_ai_extensions/aiworkflowprofile/add/
Configure the profile:
Slug: Enter a descriptive identifier (e.g.,
studio-library-assistant)Base filepath: Select
base.library_questions_creator
Click Save and continue editing
Review the base template and effective configuration as before.
Creating the Scope#
Navigate to the scope creation page:
/admin/openedx_ai_extensions/aiworkflowscope/add/
Configure the scope:
Service variant: Select
CMS - StudioCourse ID: Leave empty (applies to all courses in Studio), or target specific courses
Location regex: Leave empty — location targeting is not used in the Studio context
Profile: Select the profile you just created
UI slot selector ID: Enter the
idof the frontend widget that should render this workflow. See Using the UI Slot Selector ID for details.Enabled: Leave checked to activate the scope immediately
Click Save
Testing the Workflow#
Navigate to a course in Studio. You should see the AI assistant interface available to authors in the right sidebar of the Studio course.
Advanced Configuration#
Using the UI Slot Selector ID#
The UI Slot Selector ID field controls which frontend widget renders a given scope.
It does not refer to the Open edX UI slot (e.g. openedx.learning.unit.header.slot.v1).
It refers to the id property of the widget that is inserted into that slot via the
plugin operations system:
op: PLUGIN_OPERATIONS.Insert,
widget: {
  id: 'ai-assist-button',   // ← this is the UI Slot Selector ID
  priority: 10,
  type: DIRECT_PLUGIN,
  RenderWidget: ConfigurableAIAssistance,
}
Every widget sends its own id with each backend request. The backend only returns a
scope whose UI Slot Selector ID exactly matches that value. This guarantees that each
widget on the page receives its own independently configured workflow.
Common widget IDs#
The most commonly used widget IDs are:
ai-assist-button                      ← LMS unit-level AI assistant
ai-assist-button-course-outline-sidebar  ← Studio course outline sidebar
A less common one is ai-extensions-settings-card, which appears as a new card in the Pages & Resources view in Studio. Additional IDs may be in use
depending on your installation. The Django admin field auto-suggests all values it finds
in existing scope records, so the available options grow as you configure more scopes.
Wildcards (empty value)#
If you leave UI Slot Selector ID empty, the scope will match any widget that does not find a more specific scope for its widget ID. This is a convenient shortcut for simple deployments, but it means any new widget you add later may unexpectedly receive the same workflow.
For production deployments, always set an explicit UI Slot Selector ID so scope resolution is predictable.
Scope resolution and specificity#
When multiple scopes could match a request, the backend selects the most specific one using a weighted score:
Field |
Weight |
|---|---|
Location regex |
+4 |
Course ID |
+2 |
UI Slot Selector |
+1 |
A scope with all three fields set outranks one that only sets two, and so on. The Specificity index column in the Django admin list view shows the computed score for each scope (read-only; updated automatically on save).
Targeting Specific Courses#
To limit a workflow to a specific course, use the Course ID field in the scope configuration.
Course ID Format#
Course IDs follow this format:
course-v1:edunext+01+2025
Example: To make a workflow available only in your Demo course:
Edit your scope configuration
Set Course ID to:
course-v1:OpenedX+DemoX+Demo_CourseSave the scope
Note
Multiple courses are not currently supported in a single scope. Create separate scopes for different courses.
Targeting Specific Units#
The Location regex field allows you to target specific course units using regular expressions.
Unit Location Format#
Course units have location IDs in this format:
block-v1:edX+DemoX+Demo_Course+type@vertical+block@30b3cb3f372a493589a9632c472550a7
Targeting a Single Unit#
To target a specific unit, use a regex pattern matching the block ID:
.*30b3cb3f372a493589a9632c472550a7
This matches any location ending with that block ID.
Targeting Multiple Units#
To target multiple specific units, use the OR operator (|):
.*(a3ada3c77ab74014aa620f3c494e5558|30b3cb3f372a493589a9632c472550a7|7f8e9d6c5b4a3210fedcba9876543210)
This matches any unit with one of the three specified block IDs.
Note
Course ID is required when using Location regex. Saving a scope with Location regex set but Course ID empty will fail with a validation error.
Warning
Location regex is a powerful but technical feature. Test your regex patterns carefully to ensure they match the intended units.
Next Steps#
Now that you have basic workflows configured, you can:
Experiment with different base profiles such as the chat for different providers
Configure multiple scopes for different courses and contexts
Monitor usage and refine your configurations
For advanced customization and development, see the how-to guides and reference documentation. For additional support, visit the GitHub Issues page.