Make Changes to your Pull Request#
Have you made a pull request, just to find that reviewers want you to make some changes? Or realized you’ve missed something? This how-to will take you through the process of changing a pull request you’ve already made.
Prerequisites#
You’ve already made a pull request. See Update An Existing Doc via GitHub or Add New Documentation via GitHub for instructions on making a pull request that either updates existing documentation or creates new documentation, respectfully.
When you made your pull request, a branch was created for you. This is basically your own copy of the filesystem, with your changes applied. When we want to update our pull request, we need to first find that copy, and then we can edit pages within it.
1. Go to your “branch”#
Go to your pull request. Notice at the top there is a line that says, “<your username> wants to merge <1+> commit(s)”:
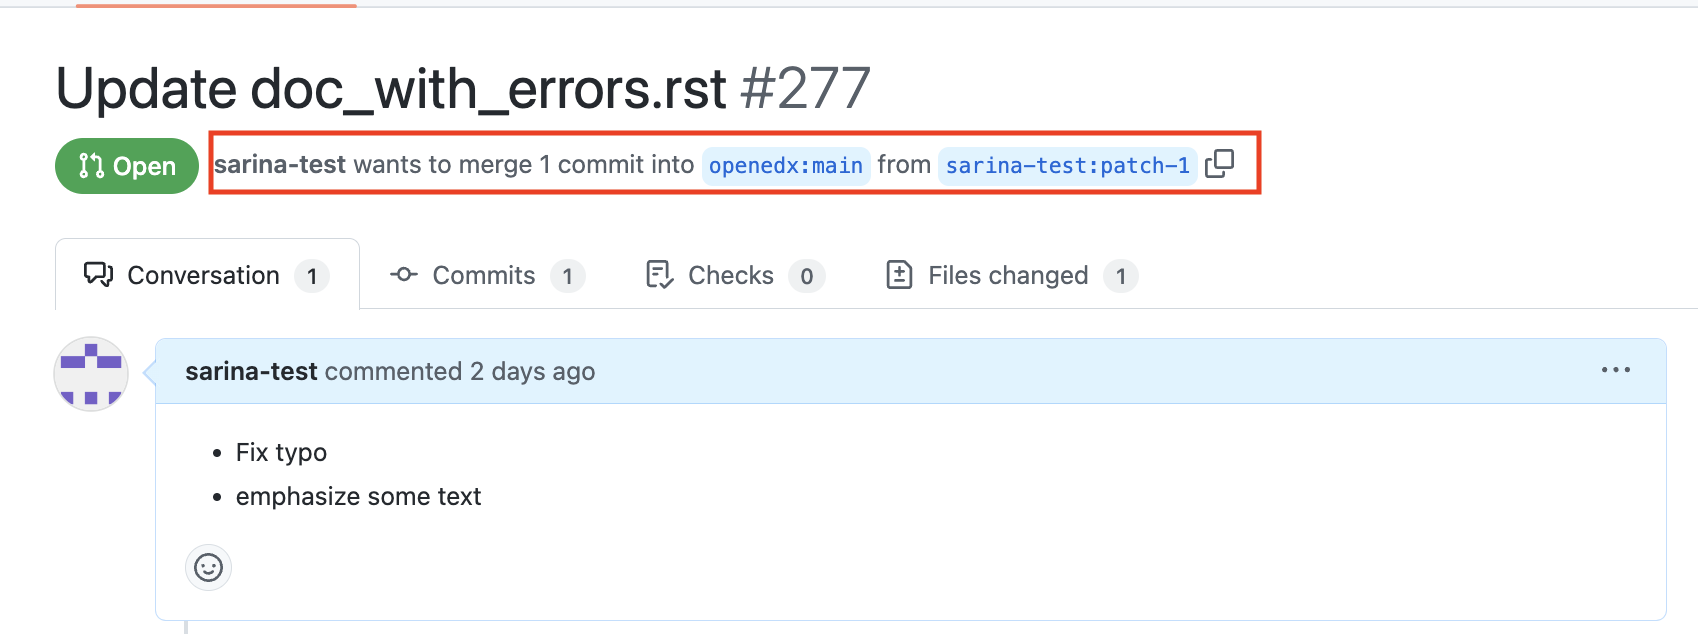
The first blue box says openedx:main. This can be read as
organization:branchname. main is the branch name for the documentation
repo owned by the openedx organization. “main” means it’s the canonical
version, the version that all the docs are published from.
The second blue box says sarina-test:patch-1. sarina-test is my GitHub username,
and patch-1 is the branch name for the branch that generated this pull request.
You will see have your own username before the colon, and likely a different branch name.
Click your branch name! You will see a version of the files on your branch:

The red box shows how, in the top left, you will see your username plus the name of the repository. This lets you know you’re looking at your own fork (copy of the repository). In the purple box at the middle of the page, there’s a box that shows you what branch you’re looking at. It should be the same branch name as you saw when you were looking at your pull request.
2. Edit files on your branch!#
Use the UI to navigate to the file you want to change. For example, to find the file
doc_with_errors.rst, I clicked “source”, then “documentors”, then “references”,
where I was able to find my file:

If you click on the file, you’ll see an edit button on the file. From here, you can follow
the instructions in Update An Existing Doc via GitHub to edit the file and make a commit. One
note: if you want to make the commit show up on your pull request, you must pick the Commit
directly to <branch-name> branch option. If you choose Create a new branch, you will end
up making a new pull request.
3. Verify your pull request was updated#
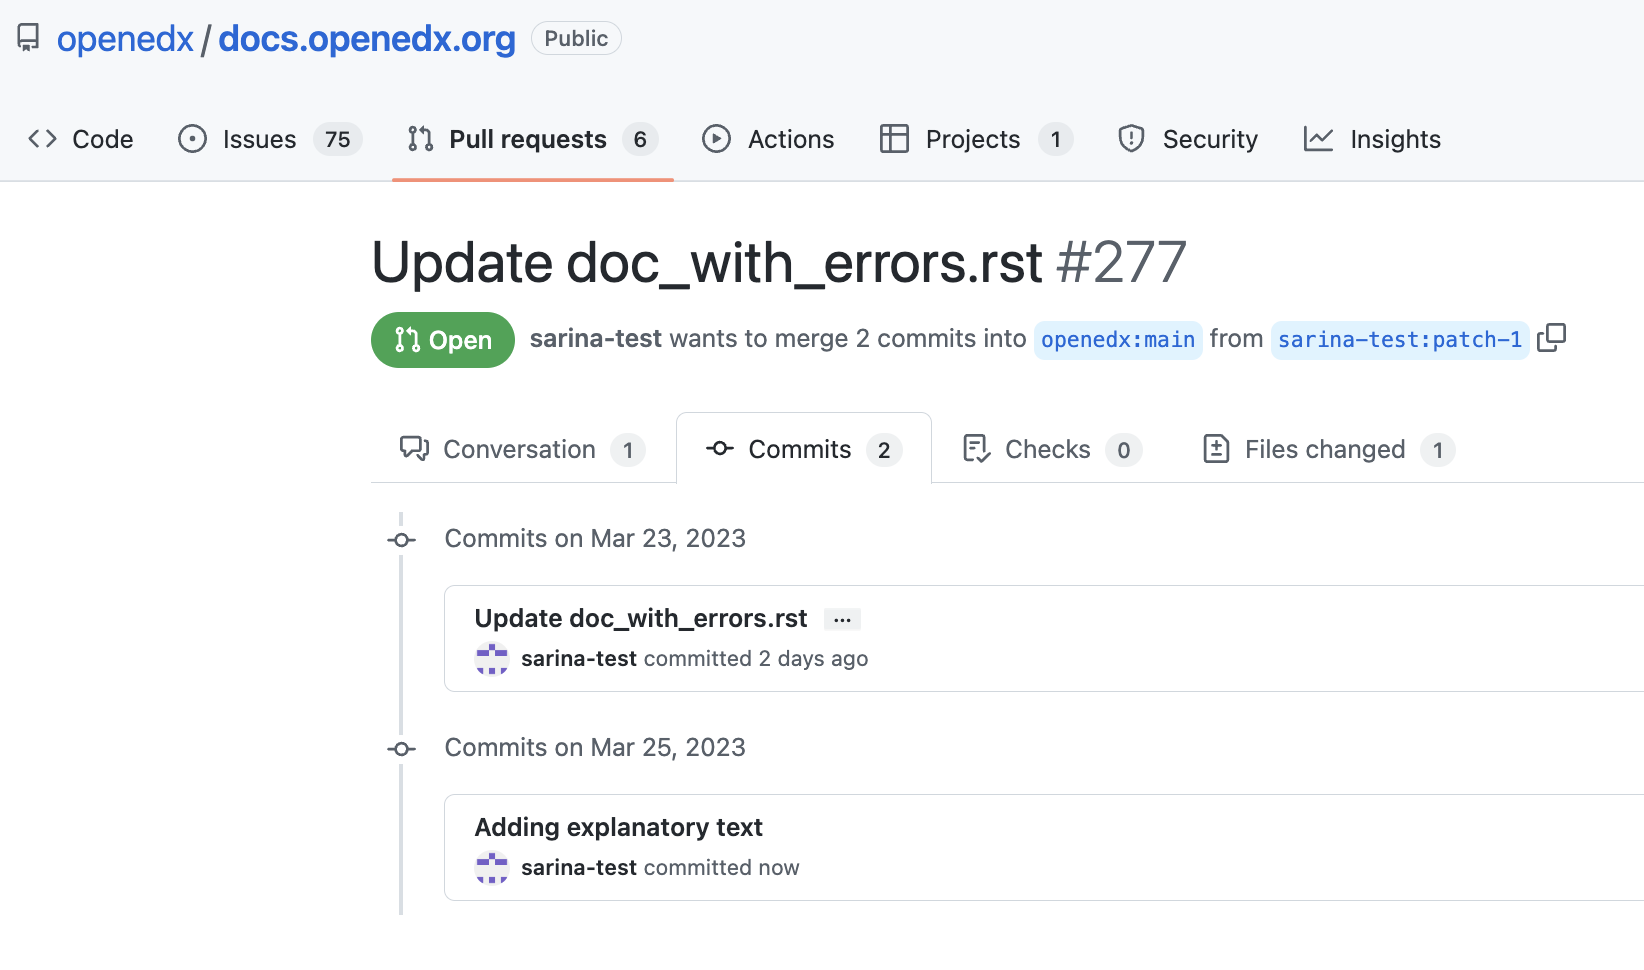
Now, if you go back to your pull request, you should see your new commit! Click on
the “Commits” tab and verify your new commit shows up. In this screenshot, you can
see that I’ve recently added a new commit, Adding explanatory text, following
the instructions in this guide.
Congrats! You just updated your branch with an extra commit, thus changing the content of your pull request (PR). You can follow this procedure anytime you get a review comment on your PR that asks for some changes. You can also do this anytime you’d like to add additional changes to your pull request.
Also, congratulate yourself for learning so much! You’re now a certified GitHub Wizard.

See also
Update An Existing Doc via GitHub (how-to)
Add New Documentation via GitHub (how-to)
Report a problem with the docs (how-to)
About Open edX® Documentation Standards (concept)
Documentor Guidelines (reference)
Documentation Maintenance Process (reference)
Guidelines for Writing Global English (reference)
Open edX Documentation Writing Style Guide (reference)
Documentation Templates (reference)
Quick Reference: Writing RST and Markdown (reference)
Documentation Audiences (concept)
Maintenance chart
Review Date |
Working Group Reviewer |
Release |
Test situation |