Override the Title of Library-Sourced Content#
When you add content from a content library to your course, it is linked to its source library and its title reflects whatever was set in the library. You can rename that content in your course without unlinking it from the library. Title overrides are supported for all library-sourced content, including sections, subsections, units, and components.
Note
Title overrides are available starting with the Verawood release of the Open edX platform.
Prerequisites#
Before you begin, ensure that you have:
A course open in Studio.
At least one section, subsection, unit, or component that was added to the course from a content library.
Override a Title#
The steps for overriding a title depend on the type of content you are renaming.
Note
Once you save a title override, there is no indicator in the current release that marks the content as locally renamed. This is planned for a future release.
Rename a Section, Subsection, or Unit#
In Studio, open the course outline.
Locate the library-sourced section, subsection, or unit you want to rename.
Select the pencil icon (or click the existing title) to make it editable.
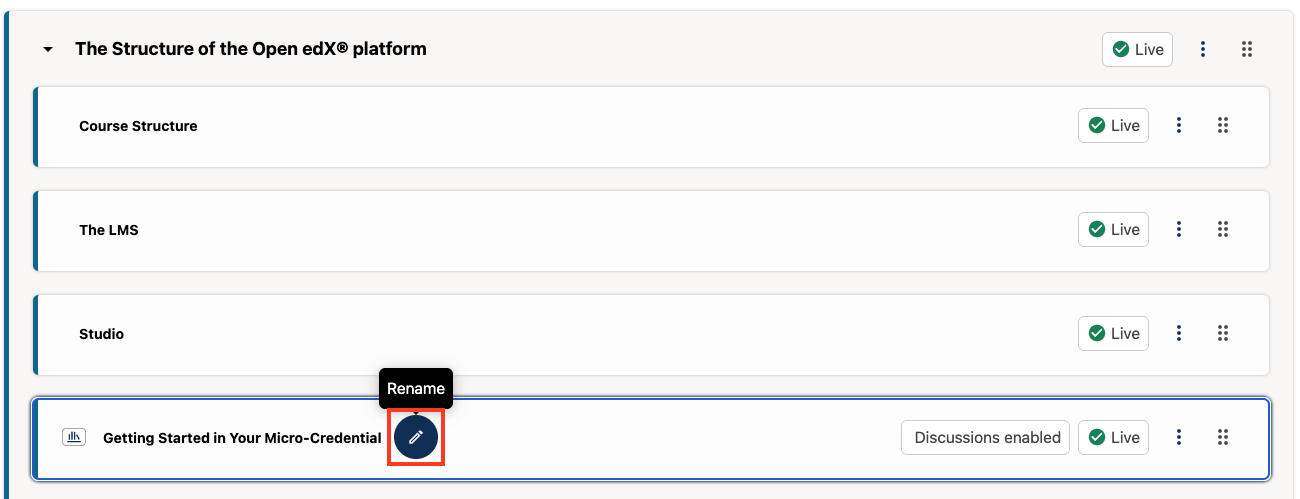
Enter the new title.

Press Enter on your keyboard, or select outside the field, to save the change.

Tip
The unit, subsection, or section must be re-published for the change to take affect in the LMS.
Rename a non-Text Component#
In Studio, open the unit that contains the library-sourced component you want to rename.
Select the pencil icon next to the component’s title to make it editable.
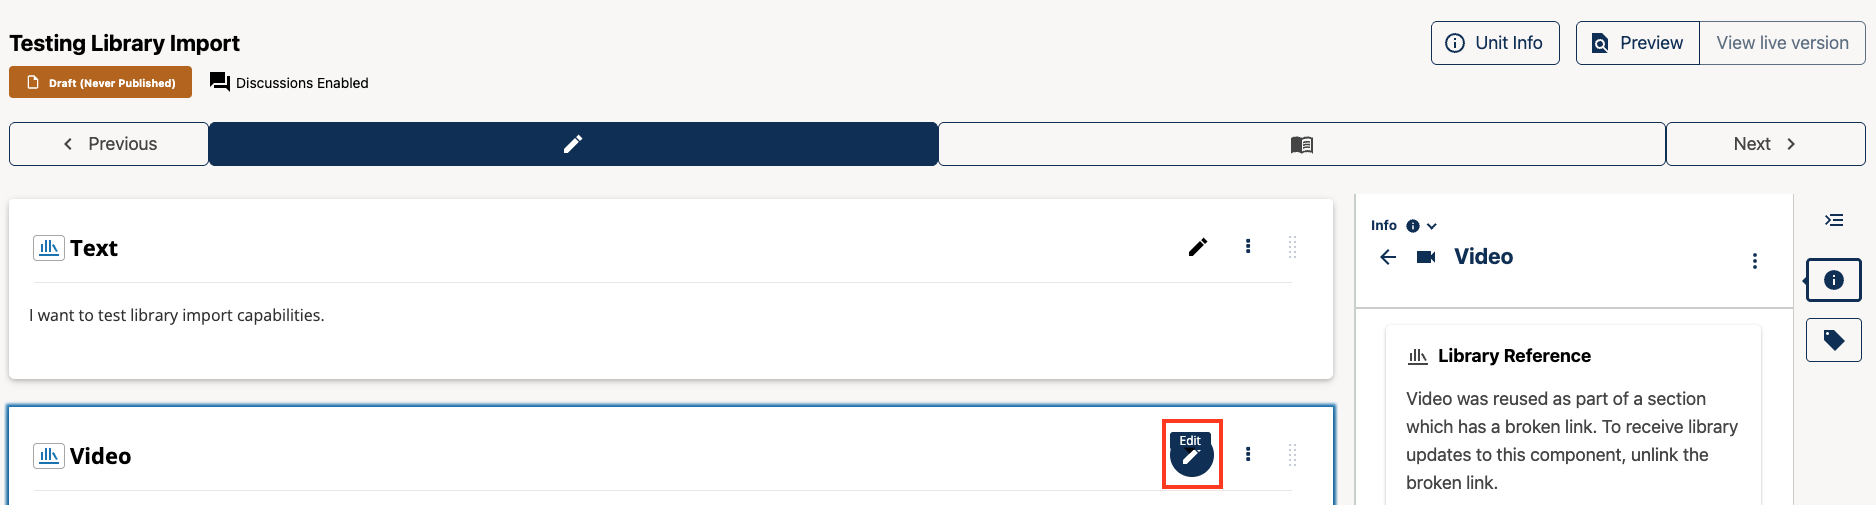
Enter the new title.

Press Enter on your keyboard, or select outside the field, to save the change.
The component now displays your custom title in the course. The title in the source library is not affected.
Tip
The component must be re-published for the change to take affect in the LMS.
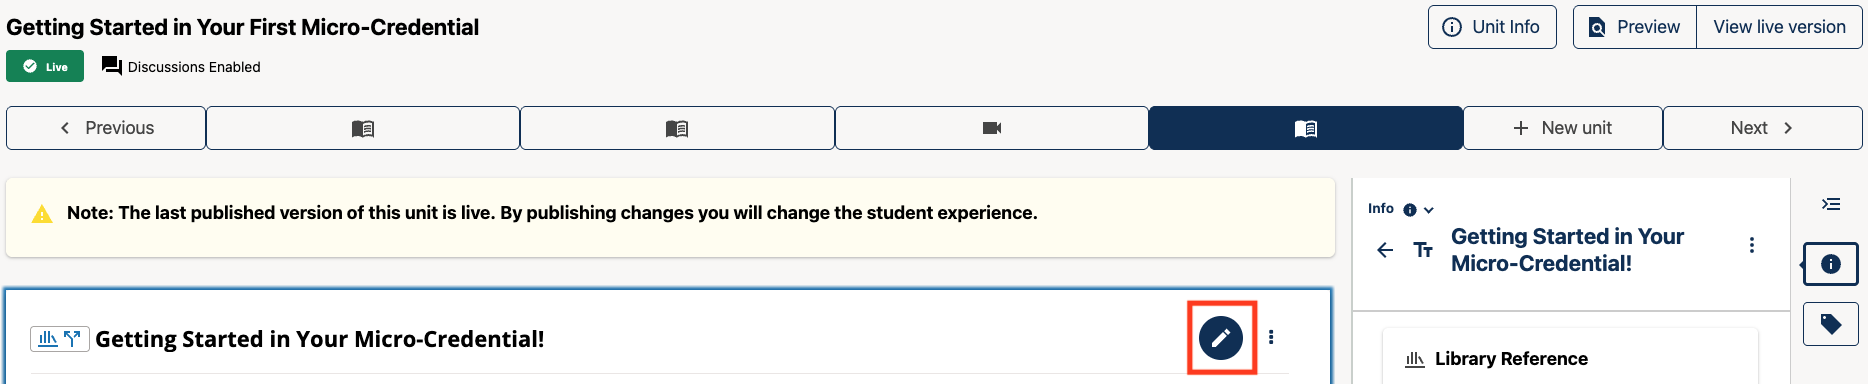
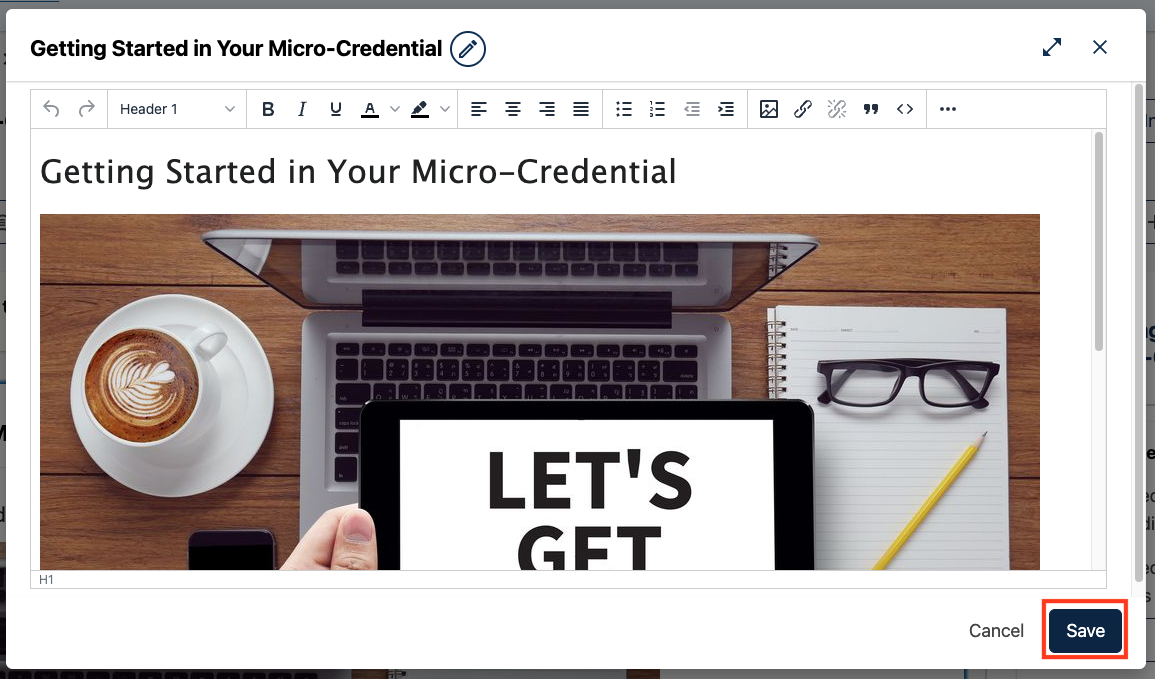
Rename a Text Component#
In Studio, open the unit that contains the library-sourced component you want to rename.
Select the pencil icon next to the text component’s title to make it editable.
Select the pencil icon next to the component’s title in the modal.
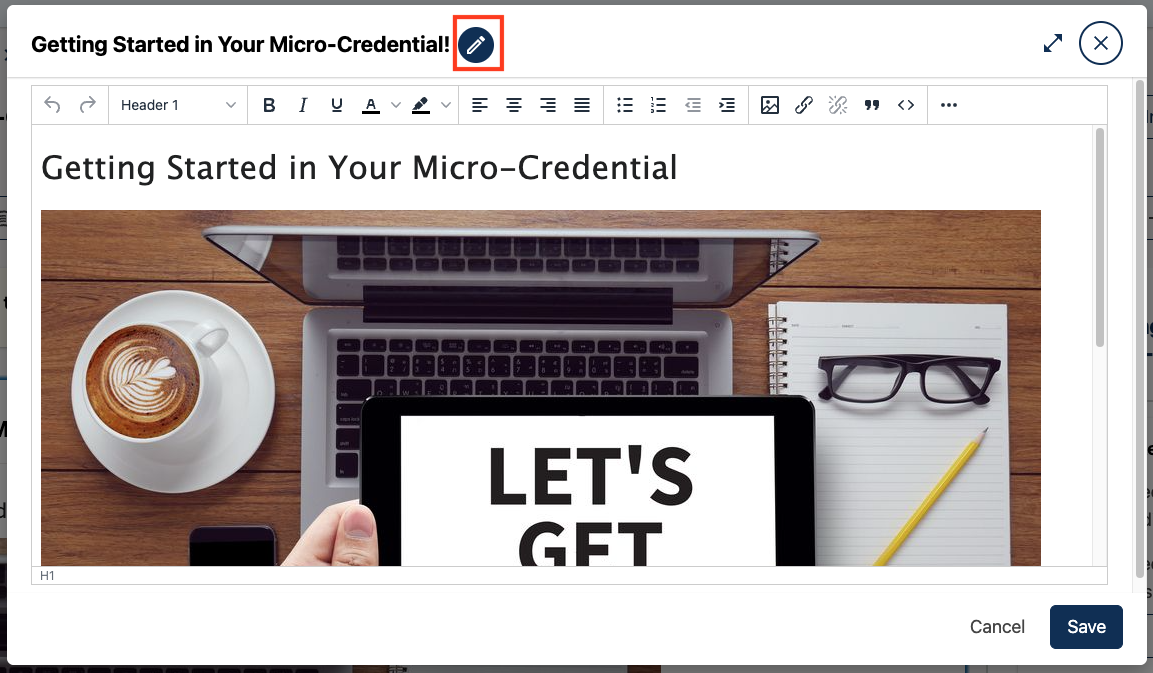
Select the checkmark icon to save the new title.

Select the save button at the bottom of the modal to save the change.
Tip
The text component must be re-published for the change to take affect in the LMS.
How Title Overrides Interact with Syncing#
When you sync library-sourced content that has a locally overridden title, your custom title is always preserved. Syncing never overwrites a title override, even if the title has been updated in the source library.
There is one exception: if a piece of content is deleted in the library and you accept that sync, the content is removed from your course even if it had a local title override.
See also
Add Library content to a course (how-to)
Sync a Library update to your course (how-to)
Override Text Content in a Library-Referenced Component (how-to)
Override Text Content in a Library-Sourced Structural Block (how-to)
Maintenance chart
Review Date |
Working Group Reviewer |
Release |
Test situation |
2026-04-08 |
sarina |
Verawood |
Pass |